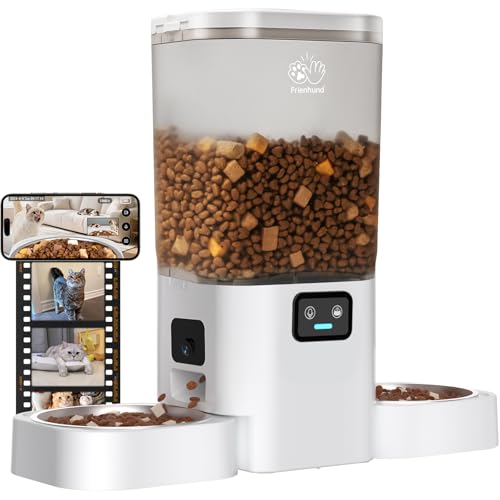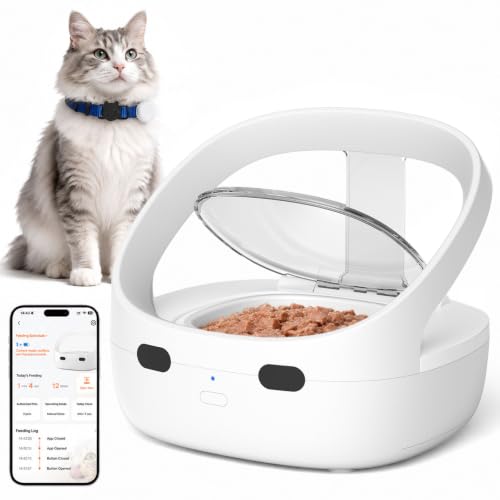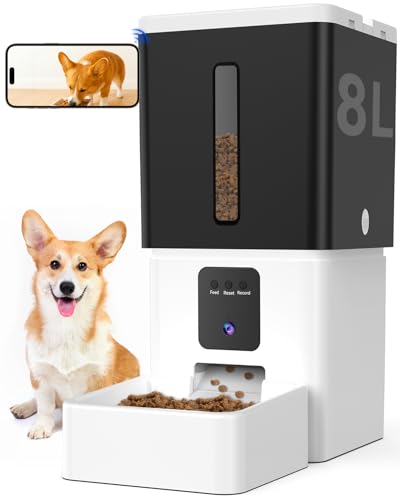

To clean an automatic pet feeder, you need to unplug it, disassemble all removable parts, wash them with warm soapy water, dry thoroughly, and reassemble. This process prevents bacterial buildup, mold, and mechanical issues that can affect your pet’s health. Regular cleaning also ensures the feeder dispenses food accurately and reliably. How to clean an automatic pet feeder is a straightforward routine that takes about 15 minutes once you know the steps.
Why You Need to Clean Your Automatic Pet Feeder Regularly
Automatic pet feeders collect food residue, dust, and moisture over time. This creates a breeding ground for bacteria and mold, which can cause digestive upset or more serious health issues in your pet. A dirty feeder can also clog the dispensing mechanism, leading to skipped meals or overfeeding.
Even if the feeder looks clean, microscopic particles accumulate in seals, augers, and hopper lids. Regular cleaning protects your investment and keeps your pet safe. Most manufacturers recommend cleaning every two to four weeks, but you may need to do it more often in humid climates or with wet food.
What You’ll Need Before You Start
Gather a soft sponge or cloth, mild dish soap, warm water, a small brush (like a bottle brush or toothbrush), and a dry towel. Avoid harsh chemicals, bleach, or abrasive scrubbers that can damage plastic parts or leave harmful residues.
Some feeders have non-removable electronics or sensors. For those, use a slightly damp cloth to wipe the exterior and a dry brush to dislodge debris from crevices. Never submerge the base or motor housing in water.
Step-by-Step Cleaning Process
1. Unplug and Empty the Feeder
Start by unplugging the feeder from the power outlet. Remove any batteries if your model uses them as a backup. Empty all food from the hopper and bowl into a sealed container to avoid attracting pests.
If the feeder has a desiccant pack or silica gel packet, set it aside. These are not washable and should be replaced periodically according to the manufacturer’s instructions.
2. Disassemble Removable Parts
Take apart every piece that comes off: the hopper lid, hopper, food bowl, tray, and any auger or dispensing rotor. Refer to your user manual if you are unsure which parts are removable. Most modern feeders are designed for easy disassembly.
Place all small parts together so nothing gets lost. Check for any rubber gaskets or seals that may need gentle cleaning with a damp cloth.
3. Wash with Warm Soapy Water
Fill a sink or basin with warm water and a few drops of mild dish soap. Submerge the removable parts and use a soft sponge or brush to scrub away food residue and grease. Pay extra attention to corners, crevices, and the inside of the hopper.
For stubborn buildup, let the parts soak for 10-15 minutes before scrubbing. Rinse thoroughly under running water to remove all soap residue. Soap left behind can taint future food.
4. Dry Completely Before Reassembly
Shake off excess water and place all parts on a clean towel to air dry. Do not skip this step: moisture trapped inside the feeder can promote mold growth and cause the motor to malfunction. Allow at least 30 minutes to an hour for thorough drying.
If you are in a hurry, use a clean, lint-free cloth to hand dry each piece. Make sure no water droplets remain inside the hopper or around the dispensing area.
5. Wipe Down the Base and Electronics
With a slightly damp cloth (not wet), wipe the exterior of the feeder base, control panel, and any exposed sensors. Use a dry brush or cotton swab to clean around buttons and the food outlet. Avoid getting moisture into any openings.
For models with a stainless steel bowl, you can wash it in the dishwasher if the manufacturer allows. Check the manual first, as some bowls have non-stick coatings that require hand washing.
6. Reassemble and Test
Once everything is dry, put the feeder back together. Ensure all parts click or lock into place securely. Refill the hopper with fresh food, plug the feeder back in, and run a test cycle to confirm it dispenses correctly.
Check that the lid seals tightly to keep out moisture and pests. If your feeder has a battery backup, reinstall fresh batteries. You are now ready to resume normal use.
How Often Should You Clean an Automatic Pet Feeder?
For dry food feeders, a thorough cleaning every two to four weeks is usually sufficient. If you use wet food, clean the bowl and tray after every meal to prevent spoilage. In hot or humid weather, increase the frequency to weekly.
Signs that your feeder needs cleaning sooner include a musty smell, visible mold, sticky residue, or inconsistent dispensing. Pay attention to your pet’s eating habits: if they suddenly refuse to eat from the feeder, dirt or odor might be the cause.
What to Avoid When Cleaning Your Feeder
Never use abrasive pads, steel wool, or harsh chemicals like bleach or ammonia. These can scratch plastic surfaces, create hiding spots for bacteria, and leave toxic residues. Stick to mild soap and soft tools.
Do not immerse the base or any electronic component in water. If liquid gets inside, it can short-circuit the motor or damage the control board. Always wipe these parts with a barely damp cloth and dry immediately.
Avoid reassembling the feeder while parts are still damp. Moisture trapped inside can lead to mold and mechanical failures. Patience with drying pays off.
How to Fix Common Cleaning Mistakes
- If you notice a lingering soap smell after cleaning, run a cycle with plain water through the hopper and bowl to rinse any residue.
- If the feeder jams after cleaning, check that the auger or rotor is installed correctly and that no food particles are stuck in the mechanism.
- If the lid no longer seals tightly, inspect the gasket for damage and replace it if needed. A poor seal allows moisture and bugs inside.
- If the feeder stops working after cleaning, it may have moisture in the electronics. Unplug it, remove batteries, and let it dry in a warm, ventilated area for 24 hours before retrying.
These troubleshooting steps address the most common issues. For more detailed guidance on maintaining your pet’s feeding equipment, visit our blog for additional tips and tricks.
Frequently Asked Questions
Can I put automatic pet feeder parts in the dishwasher?
Only if the manufacturer explicitly states they are dishwasher safe. Most plastic parts can warp in high heat, and the drying cycle may damage seals. Hand washing with warm soapy water is the safest method for all components.
How do I clean the inside of the food hopper without getting water in the motor?
Remove the hopper completely if possible. If it is fixed, use a damp cloth wrapped around a long utensil or a bottle brush to reach inside. Wipe gently and dry thoroughly with a towel. Never pour water directly into the hopper.
What should I do if my feeder has developed a bad smell?
A bad smell usually means food residue has spoiled. Disassemble the feeder completely and wash all parts with a mixture of warm water and white vinegar (one part vinegar to three parts water). Rinse well, dry fully, and replace any absorbent desiccant packs.
Is it safe to use vinegar to clean my automatic pet feeder?
Yes, white vinegar is safe for most plastic and metal parts when diluted. It helps remove odors and kill bacteria without harsh chemicals. Rinse thoroughly after use to remove the vinegar smell, as some pets may be sensitive to it.
How often should I replace the silicone seals or gaskets on my feeder?
Check the seals every few months for cracks, hardening, or loss of elasticity. Replace them at least once a year or sooner if they show signs of wear. A damaged seal compromises the feeder’s ability to keep food fresh and dry.
Related Guides
- Best Smart Feeder with Camera Reviews for 2026
- How to Prevent Automatic Feeder Jams
- How Does an Automatic Pet Feeder Work
Keep Your Feeder Clean, Keep Your Pet Healthy
Regular cleaning of your automatic pet feeder prevents bacteria, mold, and mechanical issues that can harm your pet and disrupt feeding schedules. By following the simple steps outlined above, you can ensure your feeder works reliably for years. For more pet care tips and product maintenance advice, explore the articles on our blog.