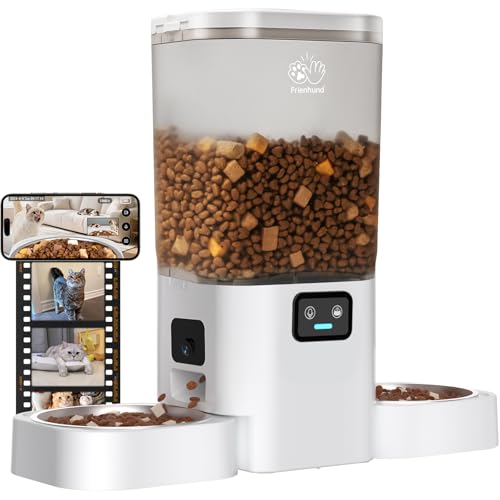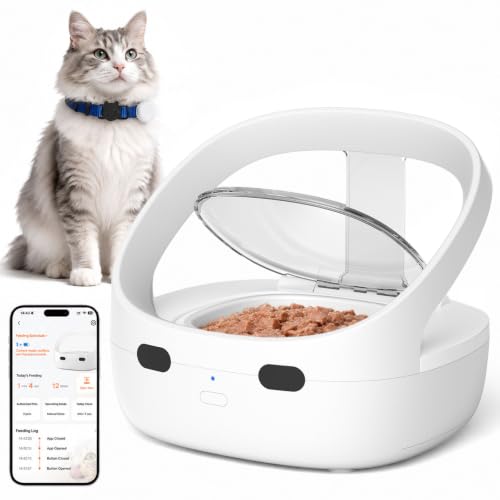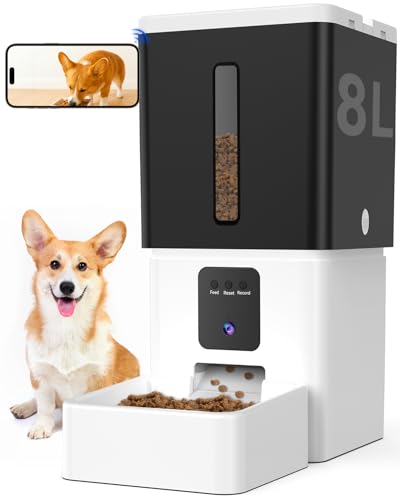

To program an automatic pet feeder, you typically need to set the current time and date, then define each meal’s dispensing time and portion size using the device’s control panel or a companion app. Most models follow a similar process, though button layouts and menu navigation vary slightly. Understanding the basic steps will help you avoid common mistakes like double feeding or missed meals. This guide covers the core workflow so you can adapt it to your specific feeder.
Understand Your Feeder’s Controls and Interface
Before you start, locate the buttons or touchscreen on the feeder. Many units have a “Menu” or “Set” button that cycles through options such as time, meal number, and portion size. The manual is your best friend here because each brand uses a slightly different icon or sequence. If your feeder supports Wi‑Fi, download the manufacturer’s app, as the programming steps may be easier on your phone.
Note that some feeders have a physical lock to prevent accidental changes. Slide it to the unlocked position before programming. Taking five minutes to familiarize yourself with the controls will save you time later.
Set the Correct Time and Date
Most automatic feeders require you to enter the current time and date so that internal schedules align with real hours. On the control panel, press the clock or time button, then use the plus/minus or arrow keys to adjust. Confirm each entry with the “OK” or “Enter” button.
If your feeder is connected to a smartphone app, the time may sync automatically from your phone. Even so, double-check that it reflects your time zone correctly, especially if you cross daylight saving time changes. A wrong time will cause all scheduled meals to dispense at the wrong moment.
How to Program an Automatic Pet Feeder: Define the Meal Schedule
Once the clock is set, navigate to the scheduling menu. You will usually see slots labeled “Meal 1,” “Meal 2,” and so on. Select a meal slot, then enter the time you want food to dispense. Most feeders allow you to set up to four or more meals per day, each at a specific hour.
Be careful not to set two meals too close together, as that could exceed your pet’s daily food allowance. If your feeder has an AM/PM toggle, verify that you have selected the correct half of the day. After setting the time, confirm and move to the next slot.
Adjust Portion Sizes for Each Meal
Portion control is often managed by setting the number of rotations or seconds the auger runs. Look for a “Portion” or “Amount” setting next to each meal slot. Use the arrows to increase or decrease the serving size. Some feeders display approximate cup equivalents; others show a numeric value.
Consult your veterinarian or your pet’s feeding guide to determine the correct portion per meal. A common mistake is to set portions too large, leading to overeating. Start on the conservative side and adjust after monitoring your pet’s weight and appetite.
Enable Supplemental Features (Voice Recording, Slow Feed, etc.)
Many automatic feeders offer extras like a voice recording that plays when food is dispensed, a slow-feed mode that releases kibble gradually, or a lock to prevent your pet from accessing the hopper. These settings are usually found in a “Features” or “Advanced” menu after you have programmed the basic schedule.
If your feeder allows it, record a short phrase such as “Dinner time!” to signal your pet. For slow feed, follow the on-screen prompts to choose the duration. Activating these features won’t interfere with the core schedule, but they do add an extra layer of convenience.
Test the Full Cycle Before Leaving Your Pet
Once all settings are entered, perform a test run. Press the “Manual Feed” button to dispense a sample serving and confirm that the auger turns and kibble falls into the bowl. Then, check that the scheduled times you programmed actually trigger at the correct minute.
Some feeders let you simulate the next meal in the menu. Use that option if available. If food does not dispense as expected, review each step: time, meal time, portion size, and any safety locks. It is better to catch an error while you are still home than to come back to a hungry pet.
What to Do Next
- Confirm your feeder’s time and date are correct.
- Program each meal slot with a time and portion size.
- Activate any bonus features you want (voice recording, slow feed).
- Run a test cycle to verify that dispensing happens on schedule.
- Recheck all settings after a power outage or battery change.
If you run into a specific problem with your model or want more tips on keeping your pet’s feeding routine smooth, explore our blog for additional articles and troubleshooting guides. Visit the Pet Tech Picks blog for regular updates on automatic feeders and pet care technology.
Frequently Asked Questions
Why is my automatic pet feeder not dispensing food at the scheduled time?
This usually happens because the time or date is set incorrectly, or the meal slot was not confirmed after programming. Check that the feeder’s clock shows the correct hour and that AM/PM matches your intention. Also ensure you pressed “Save” or “OK” after entering each meal.
How do I reset my automatic pet feeder to factory settings?
Look for a small reset button (often recessed) on the bottom or back of the unit. Press it with a paperclip for 5 to 10 seconds until the display clears. Alternatively, remove batteries and unplug the feeder for 15 seconds. After a reset, you will need to reprogram the time and all meals from scratch.
Can I program different portion sizes for morning and evening meals?
Yes, most automatic feeders allow you to set a distinct portion size for each meal slot. When you enter the scheduling menu, each slot has its own portion adjustment. This is useful if your pet needs a larger breakfast and smaller dinner, or vice versa. Simply adjust the portion for each slot independently.
What should I do if my pet feeder’s display keeps flashing?
A flashing display usually indicates that the time has not been set or that the feeder is in programming mode. Press the “Set” or “Clock” button and complete the time and date entry. If it continues flashing after programming, the batteries may be low or a connection issue exists with the power adapter.
Is it possible to set a manual feeding schedule alongside the programmed one?
Yes. You can press the manual feed button at any time to dispense an extra serving without affecting the programmed meals. However, be mindful that extra servings add to your pet’s daily intake. Some feeders log manual feed events, which helps you track total food given.
Related Guides
Closing Thoughts
Programming your automatic pet feeder involves setting the time, defining meals, and testing the schedule to ensure reliability. For more pet care insights and feeder maintenance tips, explore the articles on our Pet Tech Picks blog.